
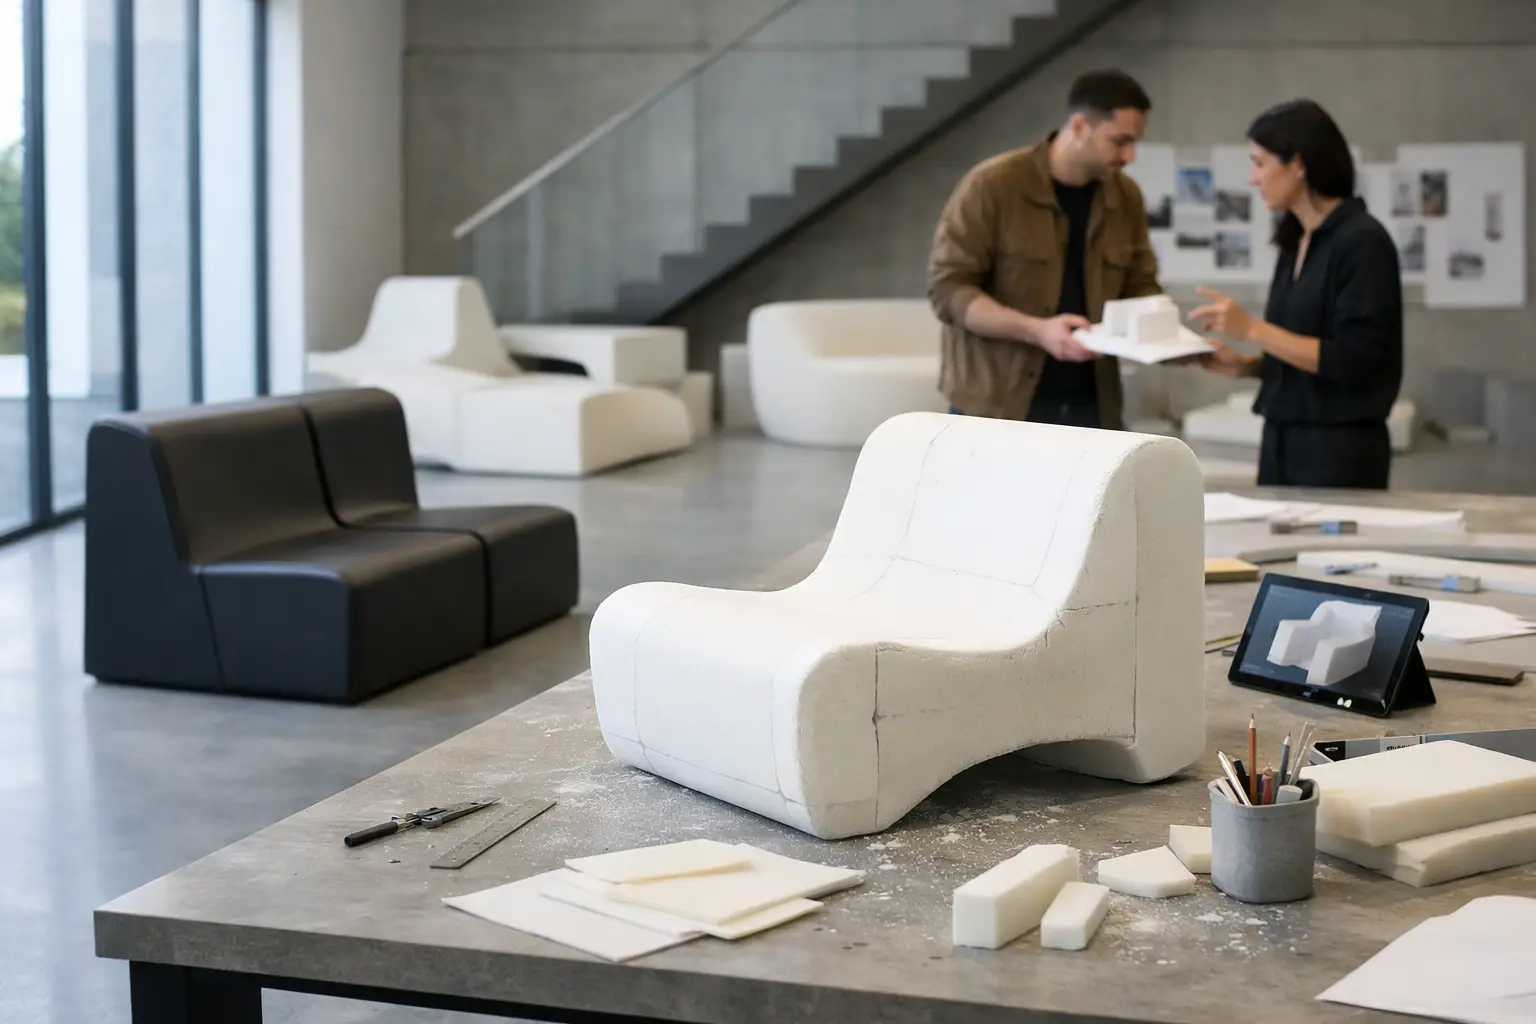
A striking furniture concept can win a pitch in seconds. Making that same concept stable, manufacturable, durable, and faithful to the original vision takes a more disciplined path. That is where a guide to furniture prototyping process becomes useful – not as a rigid checklist, but as a way to protect design intent while moving toward real-world production.
For architects, interior designers, and specifiers, prototyping is rarely just about proving that an object can exist. It is about testing whether a sculptural form still performs under traffic, whether a custom bench keeps its visual tension once dimensions are fixed, and whether material choices support both the atmosphere of the project and the realities of installation and maintenance. The prototype is where ambition meets evidence.
What the furniture prototyping process is really for
In design-led furniture, the prototype is not merely a sample. It is a decision tool. It shows where proportions feel off, where ergonomics need refinement, and where a detail that looked elegant on screen becomes too fragile, too expensive, or too slow to produce at scale.
That matters even more with non-standard forms. When a piece has compound curves, integrated branding, oversized geometry, or a soft sculptural presence, the distance between rendering and finished object can be significant. A strong prototype closes that gap early, before the project is carrying the pressure of schedules, budgets, and site coordination.
There is also a commercial reason to prototype carefully. Rework gets expensive fast once tooling, labor planning, and logistics are in motion. A prototype helps identify where to spend and where to simplify. Sometimes the result confirms the original direction. Sometimes it reveals that a small change in radius, seam placement, or internal structure will preserve the visual impact while making the object more efficient to build.
A guide to furniture prototyping process in practice
The best prototyping process starts before anything physical is made. It begins with clarity. What exactly needs to be proven? For one project, the risk may be comfort. For another, it may be dimensional fit within an architectural layout. For a branded hospitality seat, surface finish and visual identity may matter more than stackability or modularity.
That first step is definition. The team needs to identify the critical questions the prototype must answer. If those questions stay vague, the prototype often becomes expensive theater – impressive to look at, but not useful for decision-making.
Stage 1: Concept translation
At this stage, the design is translated from mood boards, sketches, or 3D visuals into buildable geometry. This is where dimensions are rationalized, tolerances begin to matter, and the design intent is protected in technical terms.
This phase often exposes the first trade-offs. A dramatic overhang may need structural support. A monolithic volume may become too heavy for the intended site. A soft silhouette may need sharper edge control to maintain consistency in production. None of that means the concept is weakened. It means the concept is being prepared to survive contact with reality.
For coated foam furniture and architectural elements, this translation is especially important because form, touch, durability, and finish all interact. The shape cannot be considered separately from the material behavior.
Stage 2: Low-fidelity testing
Not every idea needs a fully finished prototype right away. Early mockups can be rough, fast, and highly informative. A simple volume model, scaled sample, or unfinished shape study can reveal proportion issues before time is spent on refined fabrication.
Designers sometimes want to move directly to a finished piece, especially when the concept is visually strong. But a low-fidelity stage often saves the project. It helps answer basic questions quickly: Is the seat height right? Does the profile feel too bulky in elevation? Is the curvature expressive enough at full scale?
This is also the stage where installation logic should start to appear. If a bench needs to pass through a narrow access point or align with architectural features, those constraints should inform the prototype early.
Stage 3: Material and surface validation
Once the form feels right, the next question is how the object behaves as a material system. This is different from approving a color swatch. Surface validation looks at texture, edge quality, resilience, cleanability, visual depth, and how the finish supports the design language.
For public, retail, or hospitality settings, durability is not a side note. A piece can look exceptional in a studio and fail quickly in a high-contact environment if the surface specification is wrong. The prototyping stage is where material testing should account for use patterns, cleaning protocols, and exposure conditions.
There is often an it-depends factor here. A softer visual expression may be ideal for a lounge setting, while a sharper, more controlled surface may better suit branded retail or civic interiors. Neither is automatically better. The right choice depends on traffic, maintenance expectations, and the intended emotional effect.
Where prototypes usually fail
Most prototype problems are not dramatic engineering collapses. They are quieter and more common. The seat is technically comfortable but visually heavy. The radius reads beautifully in renderings but loses definition at full scale. The object works as a single showpiece but becomes difficult to repeat consistently across a rollout.
Another common issue is testing too many variables at once. If shape, surface, color, internal structure, and installation method all change simultaneously, it becomes hard to understand what is actually improving the design. Better prototyping isolates the major variables in sequence.
Communication can also derail the process. When stakeholders use broad terms like sleek, bold, soft, or iconic without tying them to measurable features, revisions become subjective and circular. Prototypes work best when feedback is grounded in specifics such as seat pitch, wall clearance, edge thickness, visual weight, or maintenance performance.
Moving from prototype to production-ready furniture
A successful prototype is not the finish line. It is the point where design intent has been tested enough to support confident production decisions. That means the next phase should convert what was learned into final specifications, fabrication methods, and quality benchmarks.
Stage 4: Detail refinement
This is where the prototype becomes disciplined. Dimensions are locked. Junctions are resolved. Surface expectations are clarified. If the piece is custom, the team should define which elements are fixed and which can remain flexible for future adaptations.
This phase matters because many furniture concepts fail in the details, not the overall form. An elegant volume can be undermined by weak transitions, inconsistent finishing, or unresolved interfaces with the floor, wall, or adjacent modules. Refinement is where the object gains credibility.
Stage 5: Production planning
At this point, the key question is not Can we make it? It is Can we make it consistently, efficiently, and at the quality level the design demands? Production planning addresses repeatability, labor complexity, lead times, packaging, transportation, and site conditions.
For custom and sculptural furniture, this step is essential. A prototype may succeed as a one-off while still being problematic in series production. If the project includes multiple units, each piece needs a manufacturing logic that protects the original character without introducing avoidable variation.
That is where an experienced fabrication partner changes the outcome. The right team does more than execute drawings. It identifies where a form can be optimized without losing its visual force, and where a detail should remain uncompromising because it defines the piece.
How designers can get better prototype results
The strongest prototypes tend to come from teams that are precise about priorities. If comfort is critical, test ergonomics early and at full scale. If the object is meant to create a visual landmark, protect the silhouette first. If the piece is heading into a demanding commercial setting, let durability and maintenance shape the specification from the start.
It also helps to distinguish between presentation prototypes and production prototypes. A presentation prototype may be enough to secure approval or communicate concept direction. A production prototype has a higher burden. It must validate fabrication logic, finish quality, and long-term feasibility. Confusing the two can create false confidence.
For ambitious custom work, speed is not always the smartest goal. Fast prototyping is useful when the questions are simple. But when the furniture is central to the identity of a space, a more deliberate process usually produces a stronger result. Bold design deserves evidence, not guesswork.
Sixinch approaches prototyping this way because sculptural furniture asks more of the process. Distinctive forms are only successful when they can be translated into durable, repeatable, production-ready objects without flattening the idea that made them compelling in the first place.
The best prototype does not just prove that a piece can be made. It proves that the original vision can survive contact, use, and scale – and still feel as powerful in the space as it did in the first sketch.